FREE Shipping on all our products! (Please Note: Orders may experience a delay of a week or more in shipping due to the high volume of orders at this time of year.)
FREE Shipping on all our products! (Please Note: Orders may experience a delay of a week or more in shipping due to the high volume of orders at this time of year.)
The 1st Key to Teaching Science – Performing Hands-on Scientific Tests
February 01, 2015 3 min read

Several months ago, I shared with you the three keys for teaching science. I wanted to come back and address each of the essentials in greater detail. For review, here are the three essentials:
Today, we are going to look closer at Essential #1 – Performing Hands-on Scientific Tests.

WHAT ARE HANDS-ON SCIENTIFIC TESTS?
We generally hear the word “experiments” used for all types of hands-on scientific tests. So, I wanted to explain what I mean by the term. Here’s my definition:
A hands-on scientific test gives your student a chance to see, practice, test, or learn about a principle, or principles, in science.
Here are the five main types of scientific tests I regularly recommend using with your students:
- Scientific demonstrations – These are teacher-led visual demonstrations of scientific facts.
- Experiments – These are student-led explorations into scientific facts and theories.
- Nature studies – These are outdoor excursions that seek to find scientific facts in nature.
- Science fair projects – These are projects that employ the scientific method from start to finish.
- Interactive online demonstrations – These demonstrations allow students to manipulate certain aspects of a scientific fact on their computer, such as those created by PhET.
You can use a combination of these scientific tests sprinkled throughout the year, or you can stick with the one that works the best for you.
Either way, I recommend that you do at least one hands-on scientific tests each week during the school year.
WHY DO YOU NEED HANDS-ON SCIENTIFIC TESTS?
Hands-on scientific tests are the flesh of the scientific facts your students are learning about. These tests:
- Provide practical reinforcement of what the student is studying.
- Allow the students to interact with science face-to-face.
- Show the students that science is more than just facts and figures.
In additional to being the visual reference of scientific fact, these tests serve to foster scientific creativity and discovery in your students.
To teach science without this hands-on aspect would make no sense.
It would be like a blind man watching a movie. It will sound right, but you won’t really have a complete picture.
WHICH TYPE OF HANDS-ON SCIENTIFIC TEST SHOULD YOU PERFORM?
The type of hands-on scientific test you choose to perform will depend largely on the students’ ages.
- Preschoolers will benefit the most from watching scientific demonstrations or doing nature walks.
- Elementary students will benefit the most from moving from scientific demonstrations into performing experiments, or from doing nature study.
- Middle and High school students will benefit the most from performing experiments, doing nature study nature study, or playing with interactive online demonstrations. These students should also be completing yearly science fair projects.
Of course, this doesn’t mean that you shouldn’t do demonstrations with your high-schoolers – as they will certainly enjoy them.
Or that your elementary student should never, ever do a science fair project, because, if done correctly, they can still learn from it.
These suggestions are simply what will benefit different age groups the most.
TIPS TO HELP YOU SUCCEED WITH HANDS-ON SCIENTIFIC TESTS
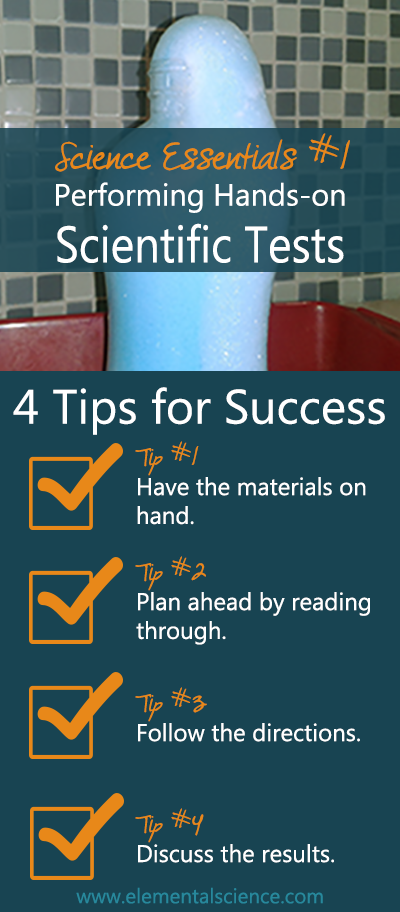
Tip #1 – Make sure you have the materials you will need on hand. Whether you buy one of our experiment kits or create your own, having the materials you need ready to go is a huge part of having success with hands-on scientific tests.
Tip #2 – Plan ahead by reading through the directions and explanations. Knowing where you are going, what you are doing, and what you are trying to demonstrate is key to having success with hands-on scientific tests.
Tip #3 – Follow the directions. Most of the directions for a scientific test are time-tested. The flow of the process is there for a reason, so it’s worth following to ensure success with hands-on scientific tests.
Tip #4 – Discuss the explanation with your students, i.e. why it did work or why it didn’t. Talking with our students about what happened and why will help them to see and understand the scientific principles at work, which is the whole purpose of performing hands-on scientific tests.
I trust that you now have a better picture of what the first key to your science plan is and how you can use this key with your students.
If you have any questions, head on over to Facebook or Google+ and join the conversation.
This article was written by our author, Paige Hudson . You can also find her mixing up solutions for homeschool science at Elemental Blogging. If you want to receive more articles just like this, plus our monthly discounts, sign up for our newsletter in the box below or click here .
Need help with planning the hands-on aspect of homeschool science? Come see how we can help!

Also in Elemental Science Blog
How can we use one experiment for multiple ages?
June 06, 2025 4 min read

Is it possible to do only one experiment for homeschool science each week with multiple kids? Yes, but it will take some work. Click to get tips on how.
All About Experiment Variables for Hands-on Science and Science Fair Projects
April 12, 2025 2 min read

What variables are found in an experiment? And how can you know which is which? Click "Read More" to get the answers.
4 Easy Steps to Add Current Events into your Homeschool Science Plan
November 02, 2024 3 min read

Adding a current events study to a subject can increase the student’s interest as well as inform him or her of the latest advances in the field. Having a student read a relevant article or two each month will enhance what he or she is learning in a subject.
This month, I wanted to share with you all how to incorporate the latest scientific news into your studies.
Subscribe
Sign up to get the latest on sales, new releases and more …

